Protocol Buffer (Protobuf) is a fast and efficient mechanism for serializing structured data. In particular, it was designed to be smaller and faster than XML.
Bosch IoT Insights supports the possibility to add Protobuf specification files to your project.
When sending binary Protobuf data to your project, the data is decoded based on the specification file and stored into the database for further analyses.
The Protobuf decoding requires a processor that controls the data flow.
Bosch IoT Insights supports .proto files with the language specification proto2 and proto3, refer to the documentation located at Google Protocol Buffer - Guide.
This .proto file must be in .zip format for the upload and contains the required data structures in so-called messages.
This example explains how a specification file is uploaded and the decoder tested.
Uploading and testing a Protobuf specification file
The following example shows a simple specification file. This specification file contains two data structures Test1 and Test2. Each has two integer variables.
//smallExample.protosyntax = "proto2";message Test1 { required int32 a = 1; required int32 b = 2;}message Test2 { optional int32 c = 1; optional int32 d = 2;}To execute this example, the following files have to be downloaded:
Proceed as follows
- Click the Services > Decoder menu item.
- Click the Upload Decoder Specification button to upload the Protobuf specification file located in the
small.zipfolder.
→ The Upload decoder specification dialog is displayed.- In the Type drop-down list, select Protocol Buffers.
- In the Specification file field, upload the
small.zipfolder. - In the Name field, enter any name for the decoder specification.
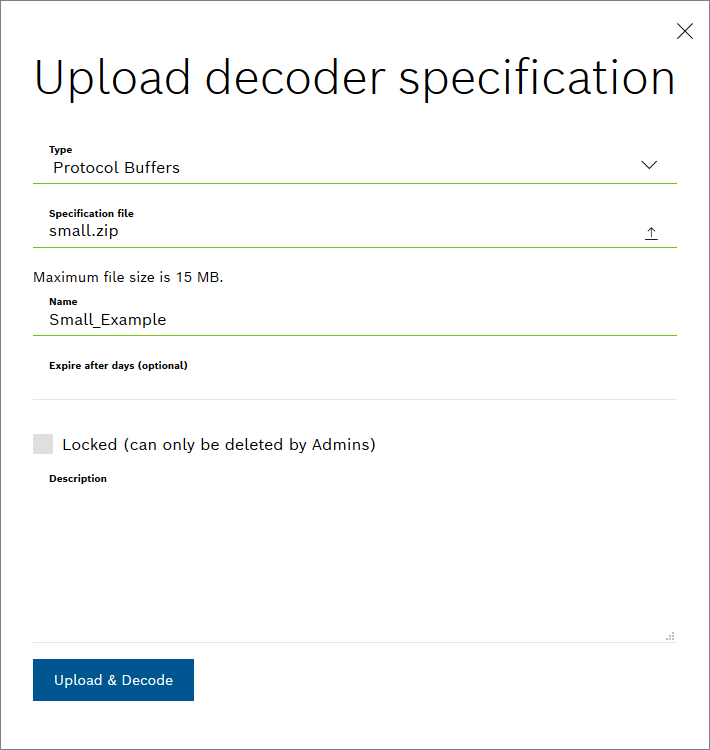
- Click the Upload & Decode button.
→ The decoder is displayed.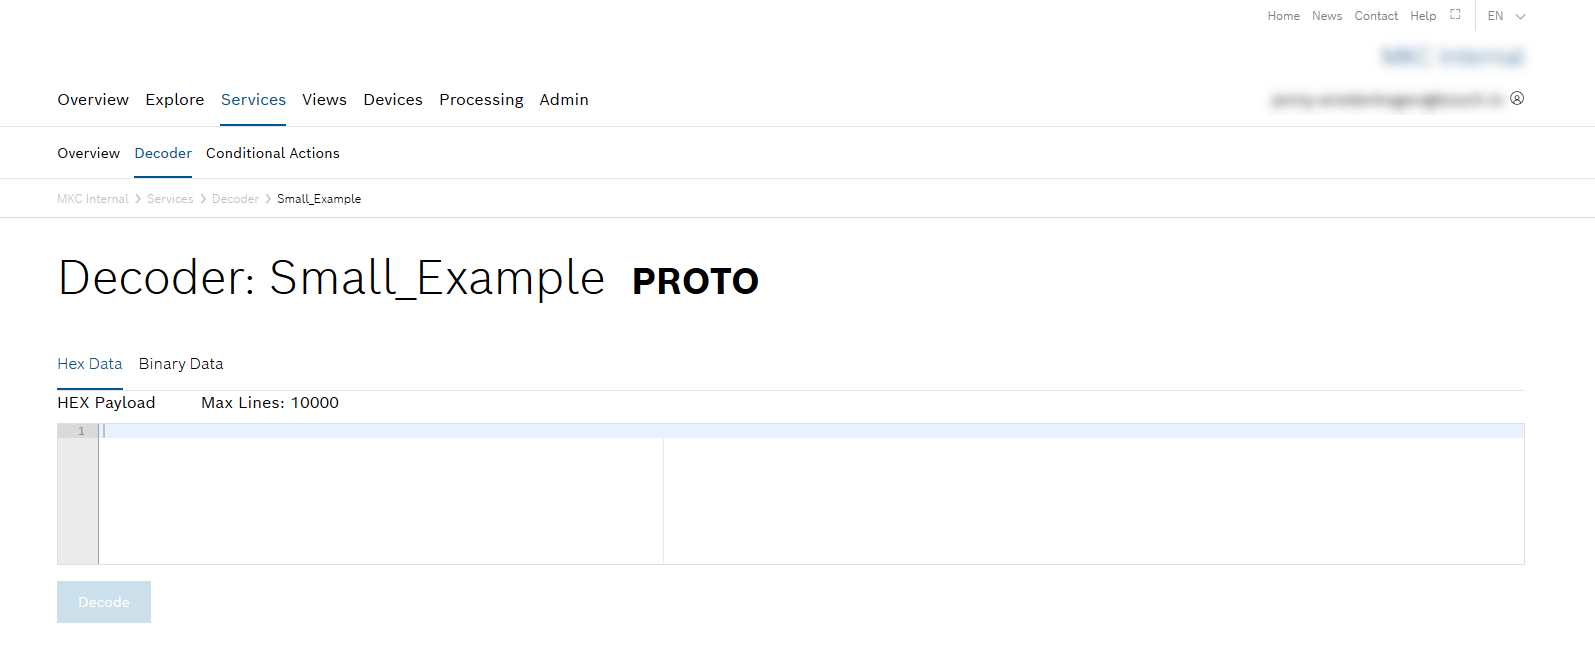
- Test the decoder:
- Open the Hex Data tab and enter the hex data from which the variable values are decoded:
08 A2 02 10 FF 01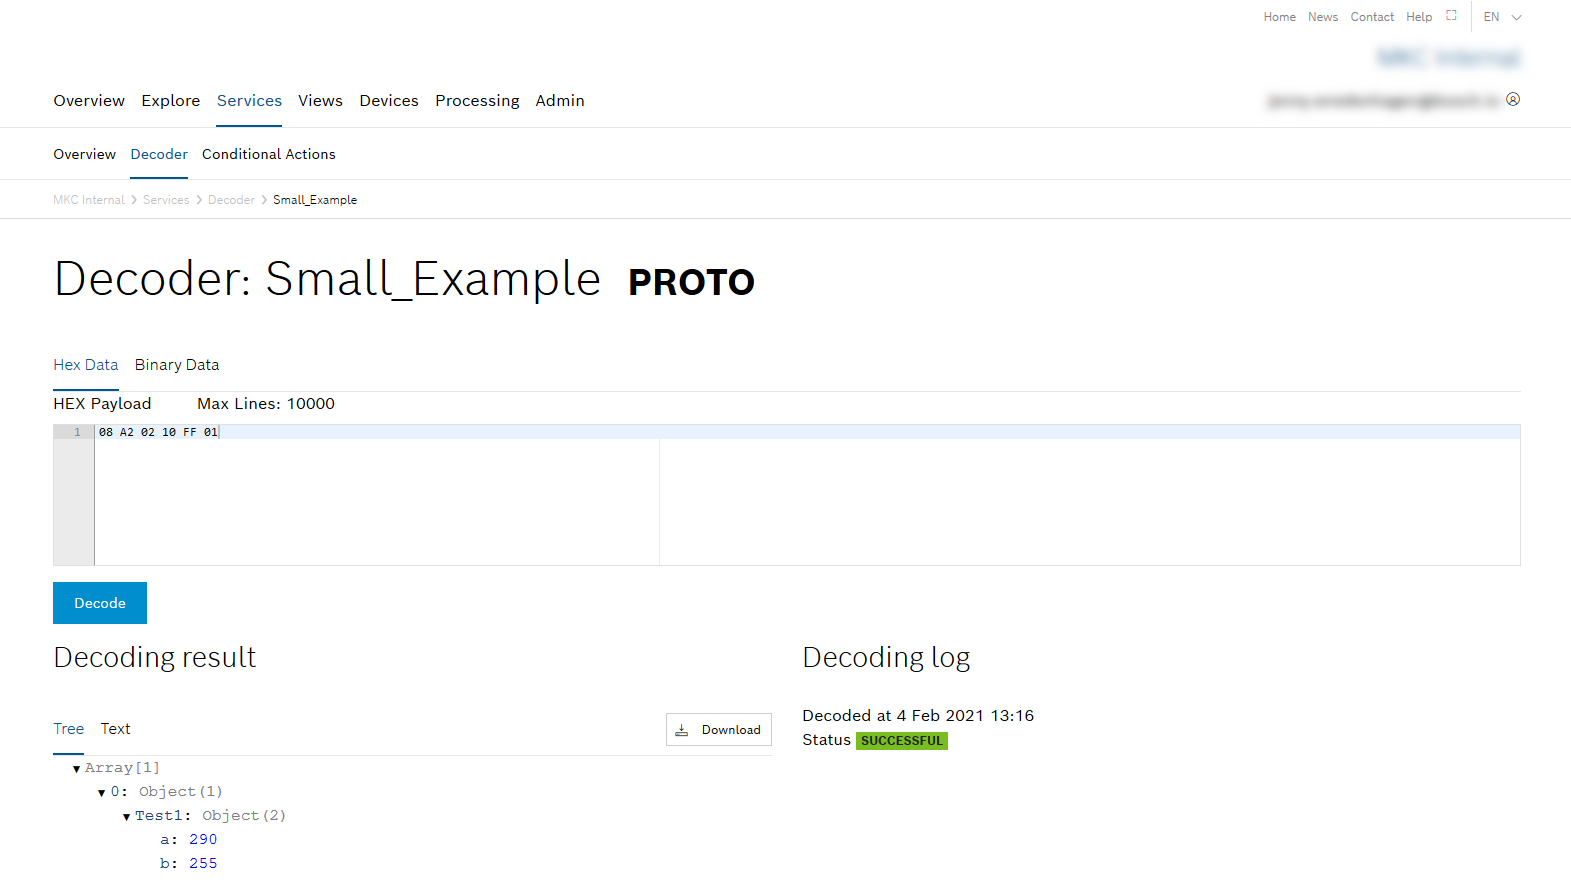
- Open the Binary Data tab and upload the
test.binfile in the Binary file field.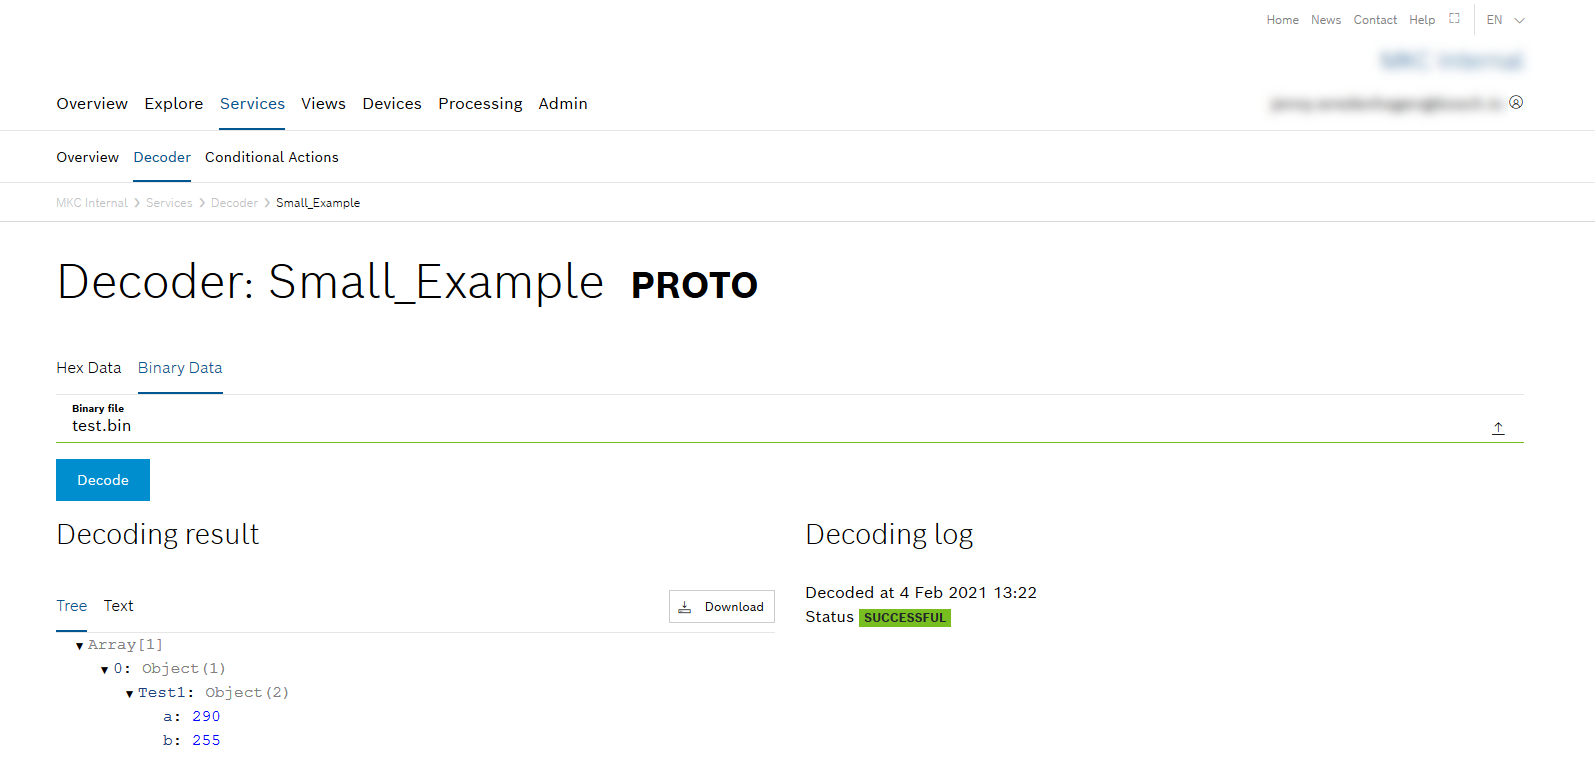
- Open the Hex Data tab and enter the hex data from which the variable values are decoded:
- Click the Decode button.
→ The decoding result displays the value 290 for variable a and the value 255 for variable b.