Every device in the system belongs to a certain device type. Therefore, let's first create a device type.
You can create separate device types for your vehicles and for the associated equipment for example. You can also configure optional or required properties, with or without default values, which will be inherited by all devices of this type.
Create a device type
Proceed as follows:
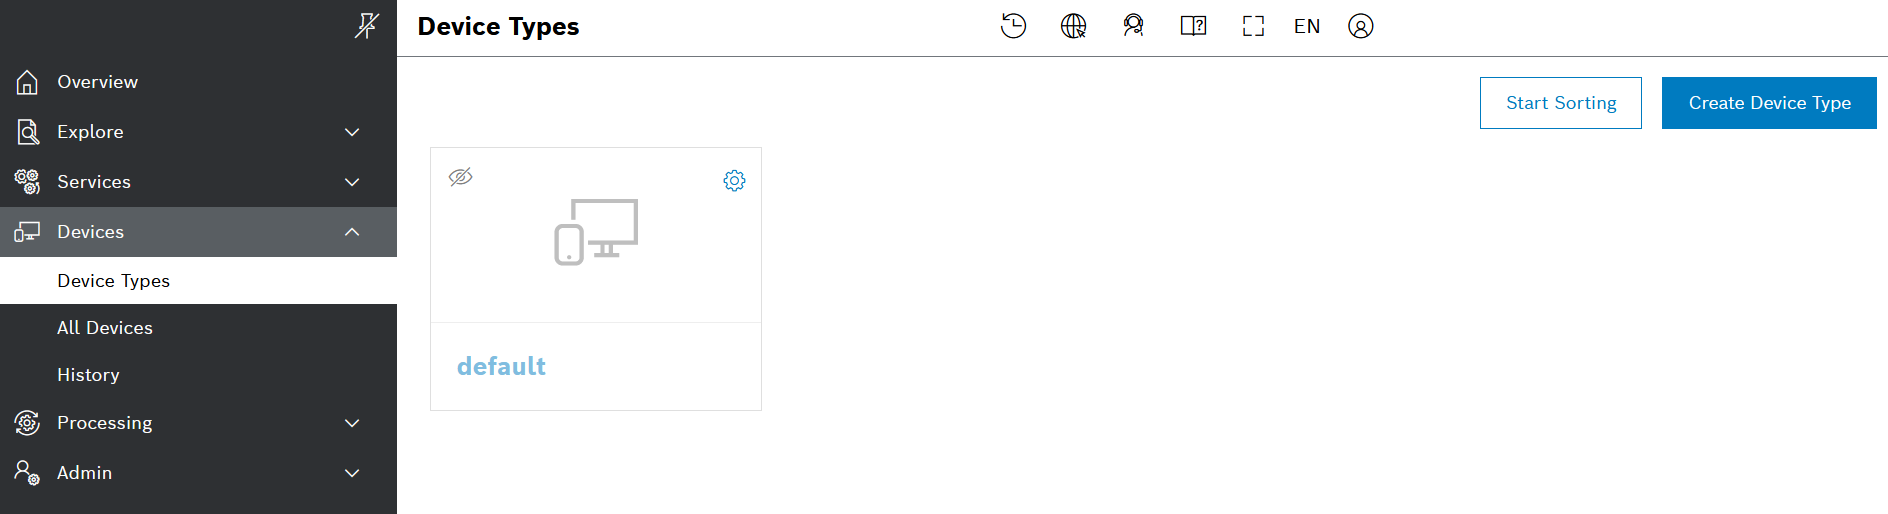
- On the left navigation of the UI, go to Devices > Device Types and click the Create Device Type button in the top right area.
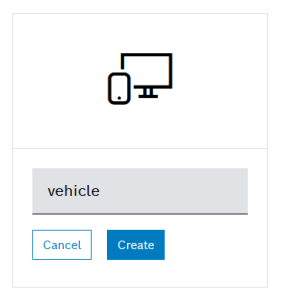
- Enter a name for the new type and click Create.
The name cannot start with digits or contain uppercase letters and special characters.
- On the next screen, you can configure the device type.
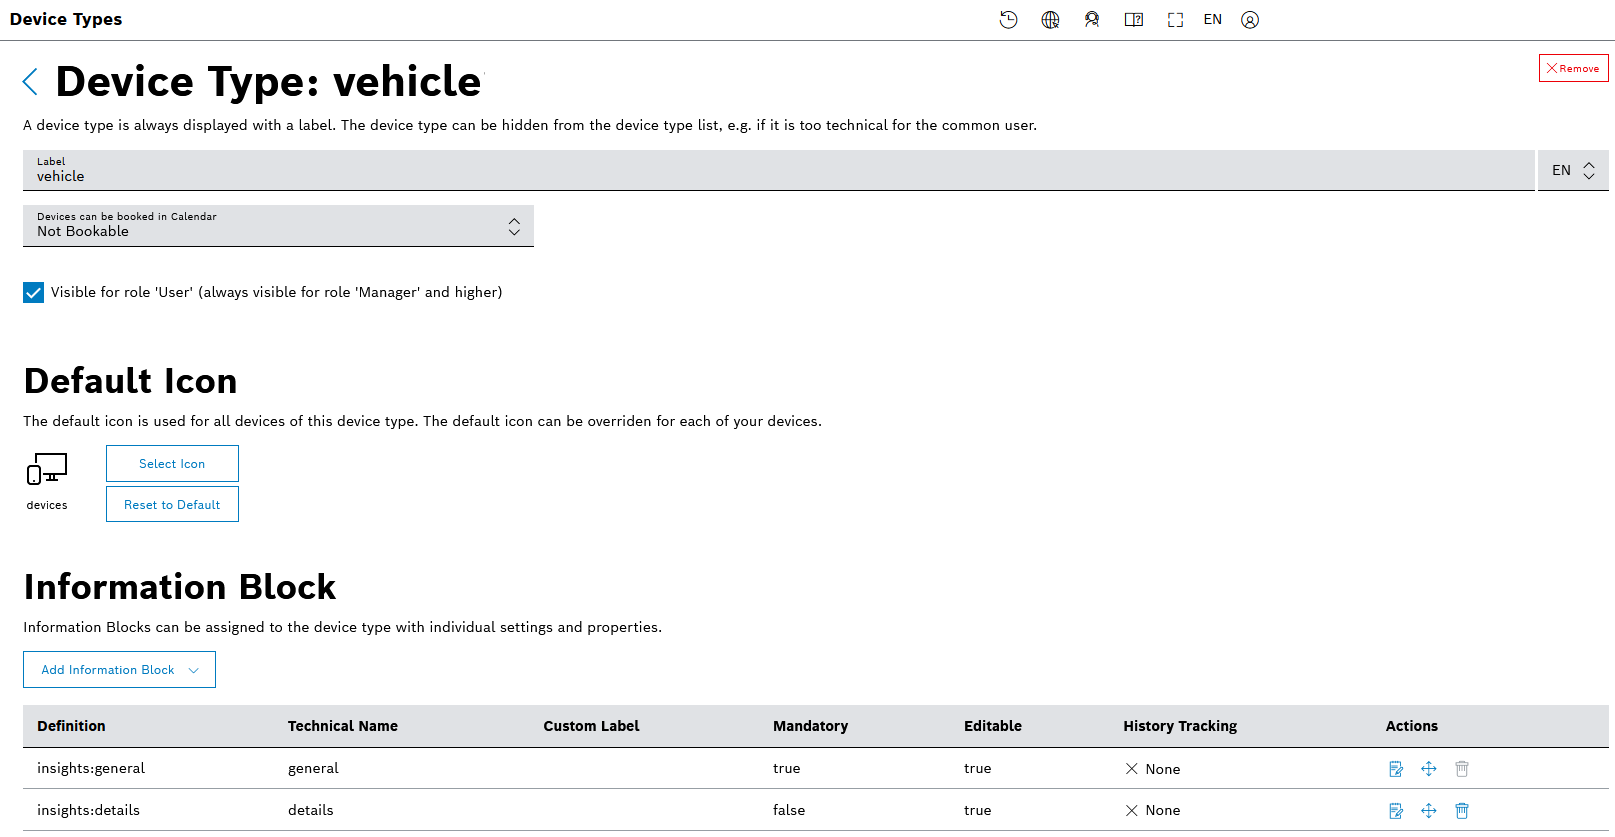
- Make the device Bookable so that we can book it on the calendar widget later on.
- You may also want to change the icon for this device type to find it more easily later on when you have several types.

- Some information blocks, such as general and details, are added by default, however, we need some more. Therefore, click the Add Information Block button and select the Geolocation option.

- Then, let's add some properties that will apply to all devices of this device type.
For that, click the Edit icon in the Actions column of the general information block.
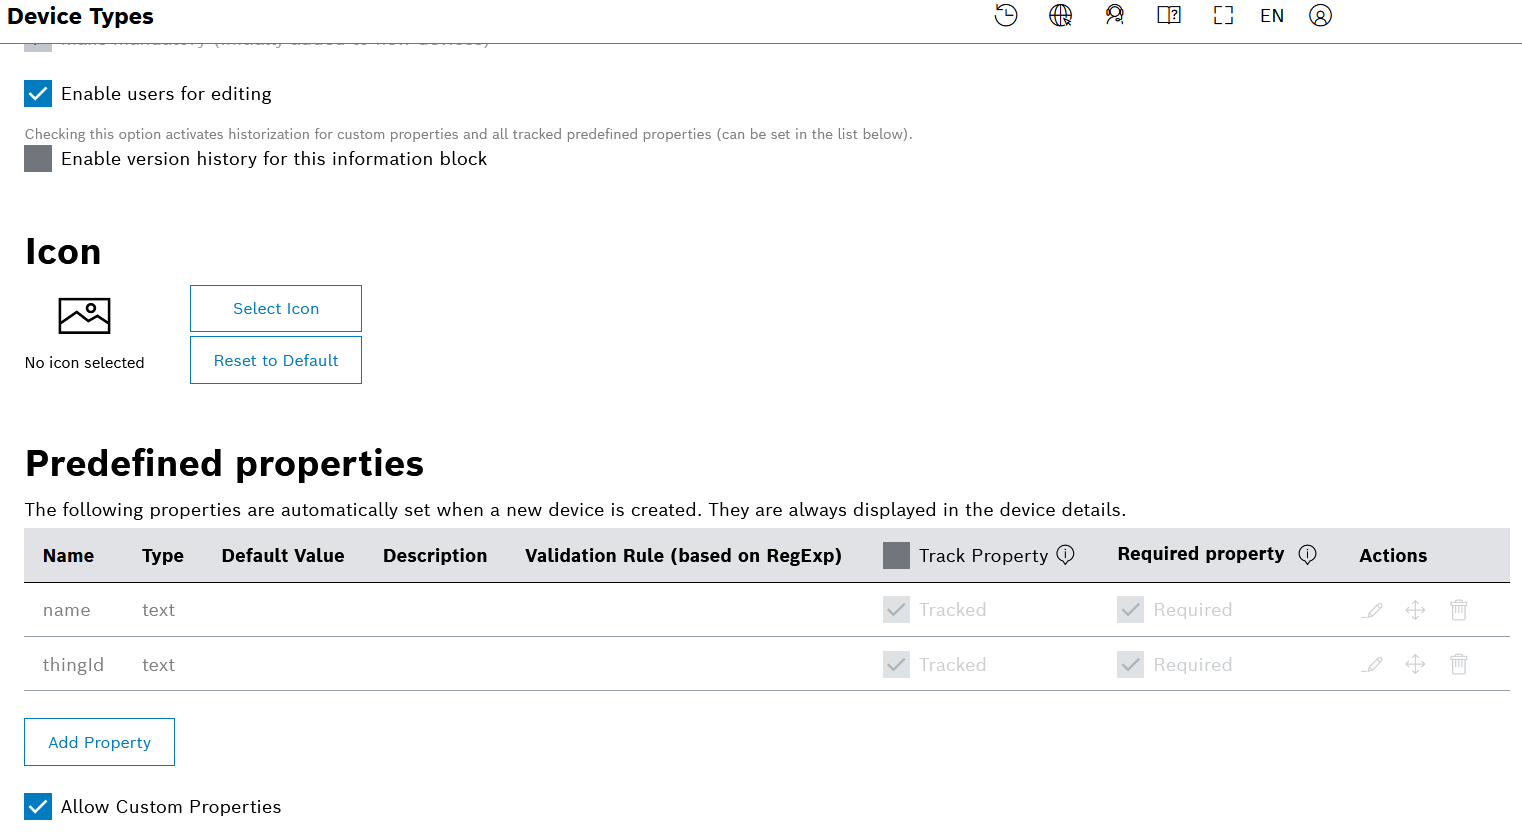
 - Check the box for Enable version history for this information block.
- In the Predefined properties area, click the Add Property button for each property that you are going to add.
- On the dialog that opens, fill in the property details as on the screenshot below, which shows how to add for example the
manufacturerproperty with a basic description.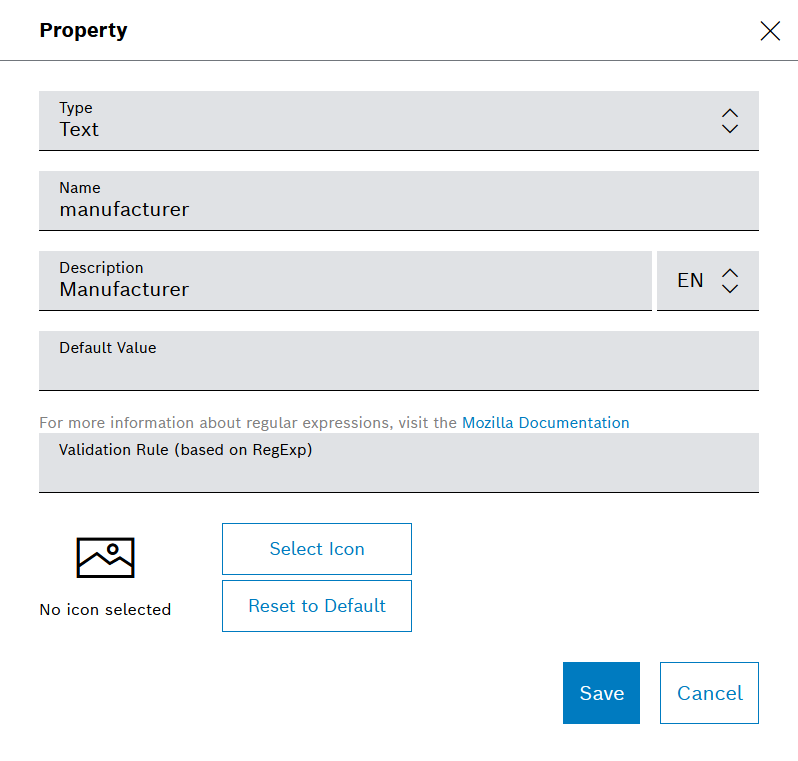
- In a similar way, add the following properties with a basic description for each:
model,class,engine,fuel,vin,color,year. - Check the box for Track Property, and mark the following properties as a Required property:
manufacturer,model,vin.
By tracking a property, you will be able to see if it has changed over time in the History of the device. See also Viewing the history of a device.
- If needed, use the drag and drop function in the Actions column to move a property up and down the list.
- The device type is now configured and we can proceed by creating a device that belongs to this device type.
Create a device
Here we will show you how to create and configure a device manually.
Proceed as follows:
- Navigate back to Devices on the main menu and this time select All Devices.
- Click
 Create Device in the top right area.
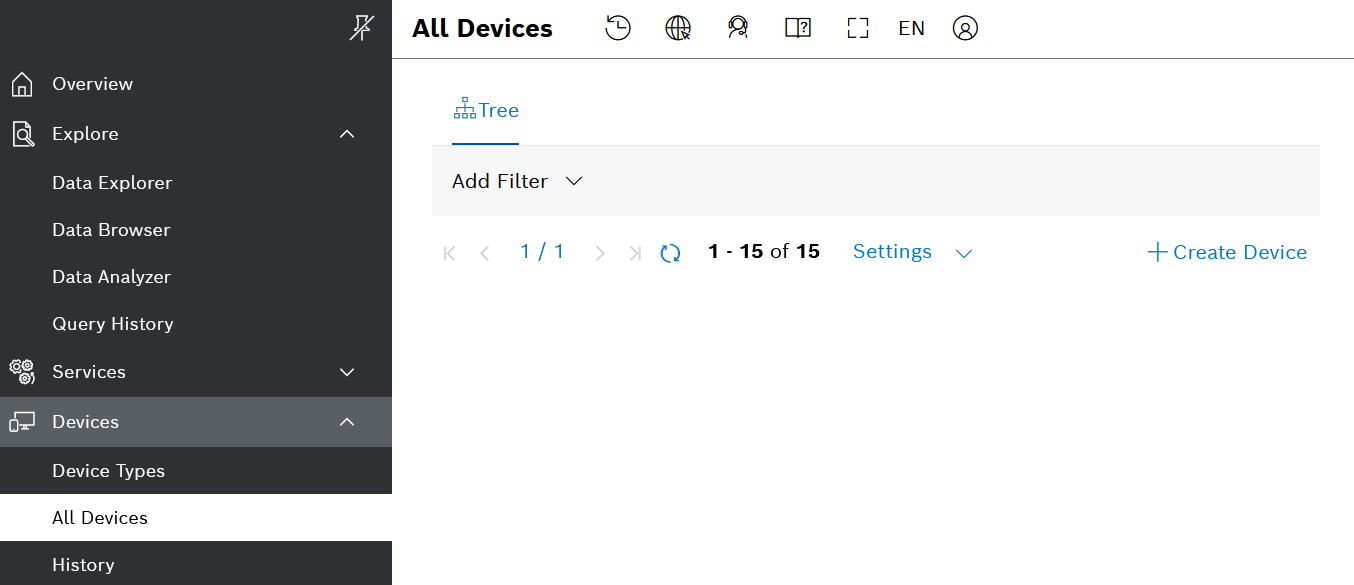
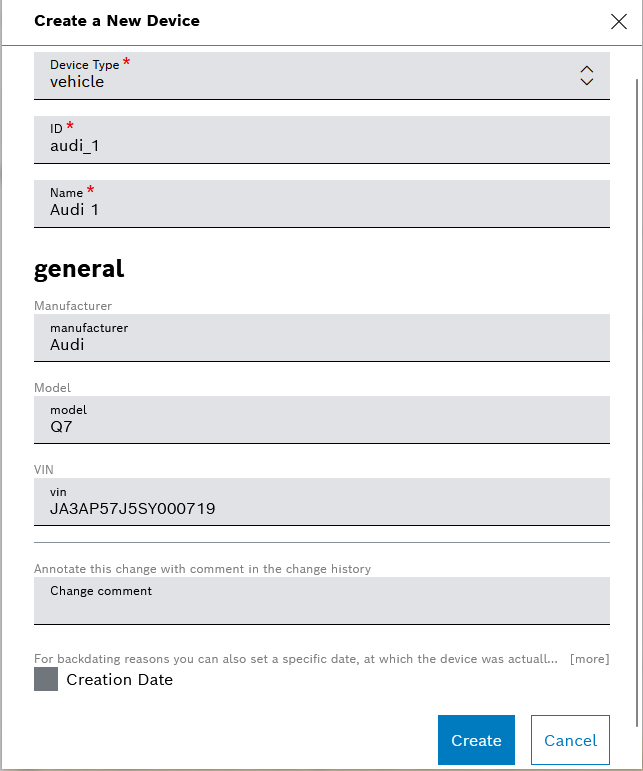
- Fill in the dialog as follows:
- select the Device Type from the drop down list
- enter an ID
- enter a Name
- enter values for the required properties inherited from the device type:
- Manufacturer
- Model
- VIN
- Confirm with Create.
- The device is created and you can proceed to the device configuration view which is displayed automatically.
Configure the device properties
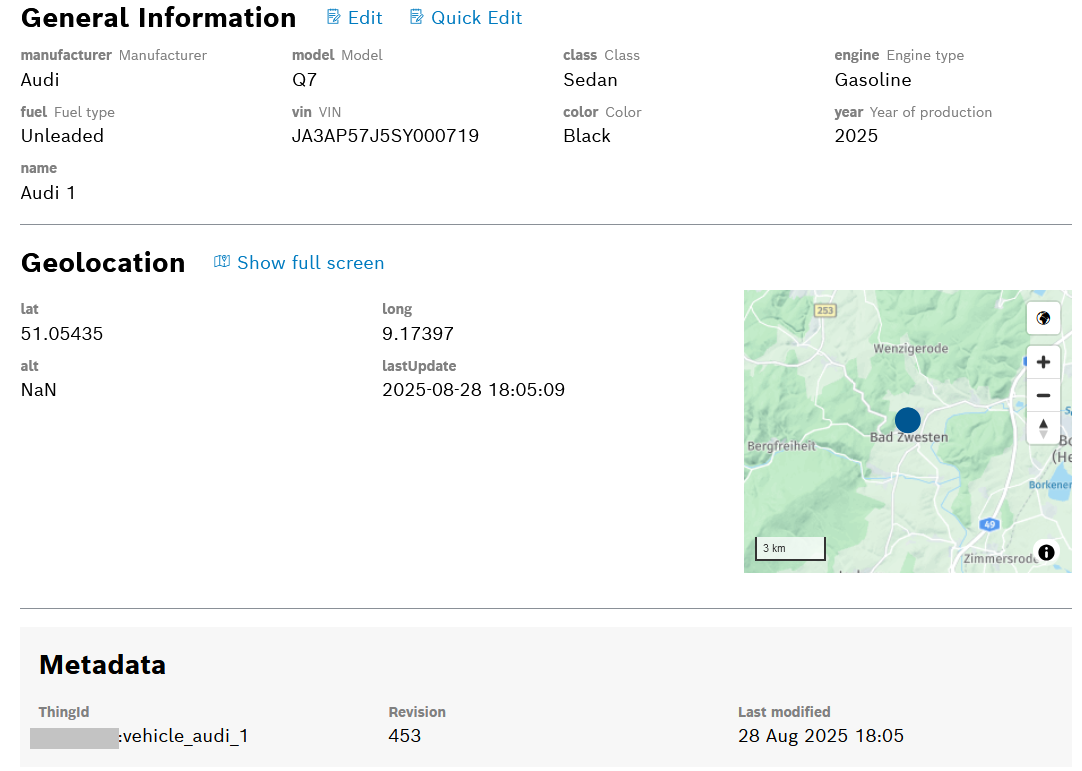
There are various actions that you can perform in this configuration view.
The screenshot below displays how the configured device properties will look when you fulfill the steps described below.
Proceed as follows:
- In the General Information area (see screenshot above), click Quick Edit.
This allows you to edit the device name and the values of the optional and required properties inherited from the device type.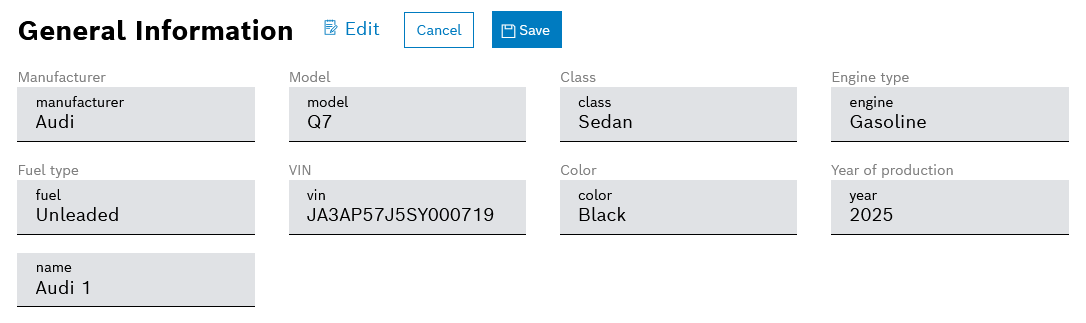
- In the General Information area, click Edit.
In addition to the above actions, here you can also add custom properties of the device. - When ready, click the Save button.
Restrict the device access
You can define who in your project will be able to see and manage the device.
Proceed as follows:
- Click
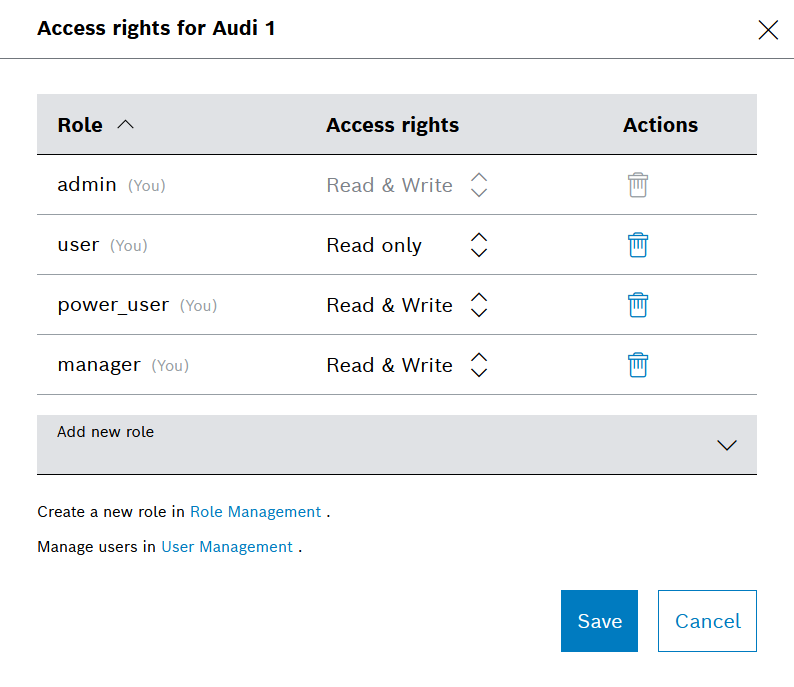
 Access Rights in the Access section on the left.
 - On the dialog that opens, you can add and remove roles and set the access rights for each of the added roles.
- Consider the following:
Read only: The user whose user role has Read only permission is able to view the device.
Read & Write: The user whose user role has Read & Write permissions is able to view, modify, restructure, and removing the device.
- When ready with your changes, confirm with Save.
See also Managing access rights
Book the device
You can make a booking directly here in the device configuration view or later in the calendar widget. Let's see how it can be done here.
Proceed as follows:
- Click
 Create Booking in the Manage section on the left.
 - On the dialog that opens, enter a Booking Title and configure the rest of the details that you can see on the screenshot.
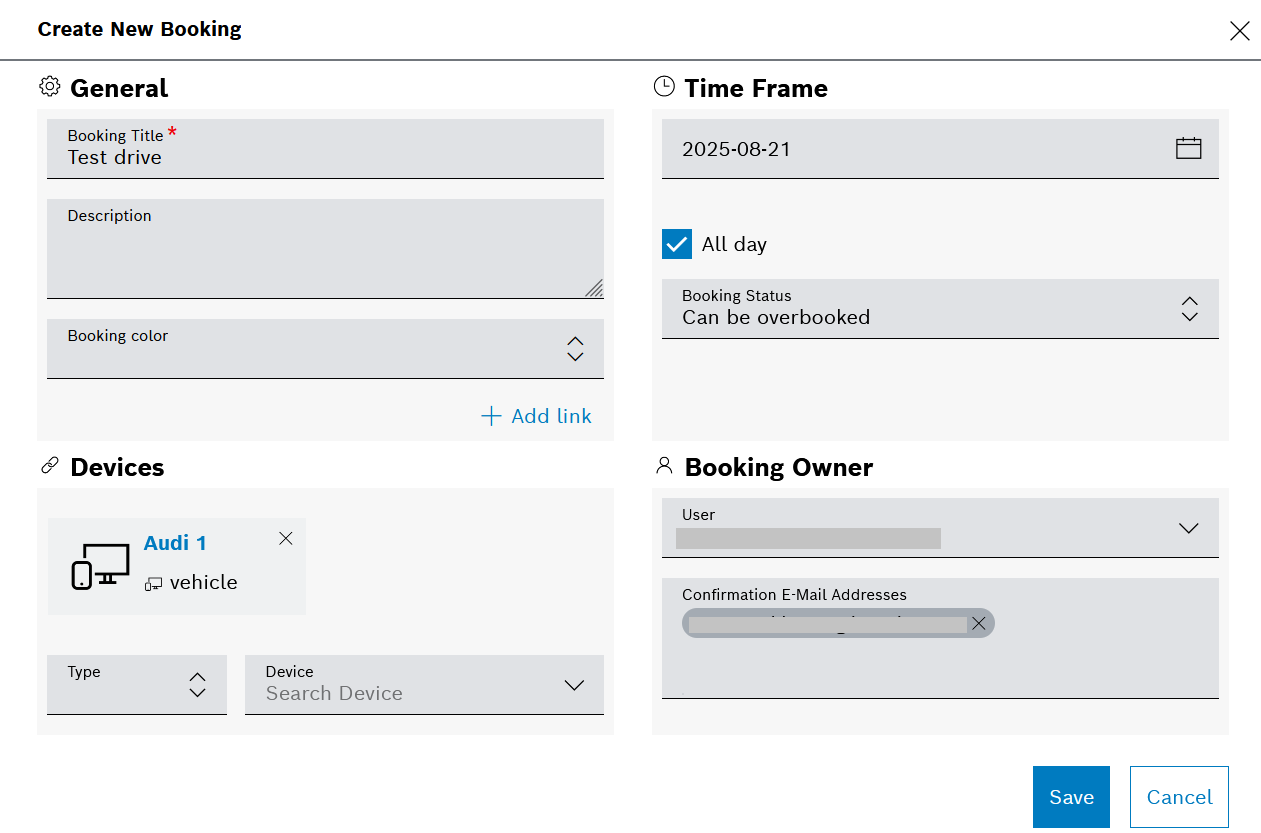
- When ready, click the Save button on the bottom to save the booking.
You can also create a booking directly in the Calendar widget on your dashboard, as described in Creating a booking.
Create more devices in the fleet
Likewise, you can create more devices. See an example of a list of devices with configured properties:

In the next steps, we will use the simulator to ingest data from all of these devices.
If you need more information about devices and device types, feel free to check our User Guide section dedicated to the Devices menu of the UI.