Playback widget
The Playback widget can be used to load time series data of other widgets on your dashboard. For some widgets, Playback can be defined in the data source settings to replay the data.
The Playback widget can only be placed once on a dashboard.
The Playback widget can be used in combination with the following widgets:
-
A Filter Panel widget can be combined when a date time range parameter has been configured.
Example

Proceed as follows
Select the Playback widget in the widget list.
→ The widget configuration page is displayed.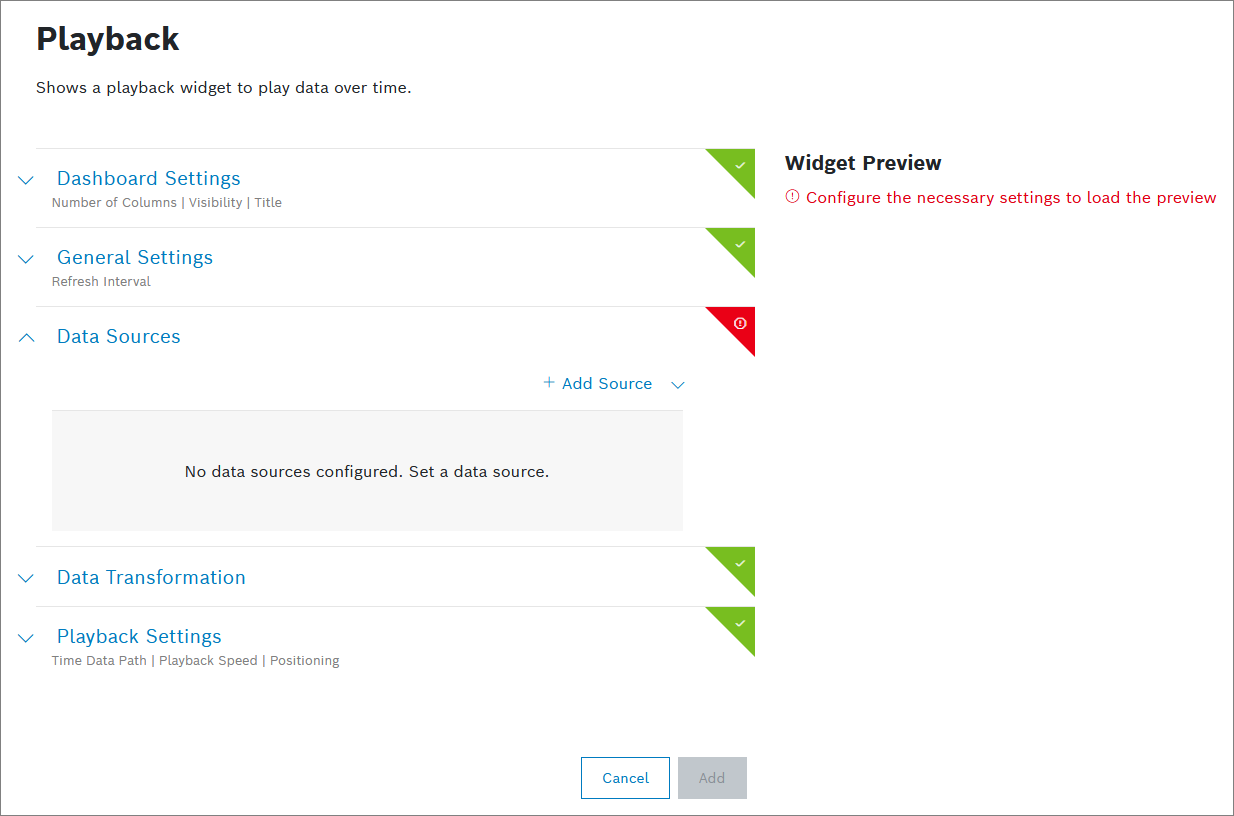
Configure the settings as described below.
Click the Add button.
→ The widget is added to the dashboard.
Dashboard Settings
Open the Dashboard Settings pane to set how the widget is displayed in the dashboard.
In the Size drop-down list, decide how much space the widget should take in the form of columns.
In the Visibility drop-down, set whether the widget should be visible or hidden. You can also define for which specific roles the widget will be shown or not. This setting allows you to customize dashboards for specific user groups that have a certain role.
Visible: The widget is visible for all (default)
Visible for roles: The widget is visible if any of the selected roles matches one of the user's project role
Hidden: The widget is hidden for all
Hidden for roles: The widget is hidden if any of the selected roles matches one of the user's project roleIn the Layout behavior drop-down list, decide how the size of the widget should be adapted in the dashboard.
In the Title field, enter a title for the widget.
For a dynamic title, you can add placeholders with the ${...} notation. Possible placeholder sources are filterParams (if a filter widget exists on the dashboard, e.g. ${filterParams.paramName}) or data from the data source (if source is specified, e.g. ${[0].payload.value}), insights (user context), dashboardName or widgetId.
General Settings
Open the General Settings pane to configure some general aspects for the widget.
In the Widget Refresh Interval in Seconds field, enter a value in seconds after which the widget should be refreshed.
In the Lazy Loading drop-down list, select whether you want to enable or disable lazy loading.
Lazy loading is enabled by default. That way, widgets are only loaded when they are visible on screen. This prevents slower loading of the dashboard and performance issues.
Data Sources
Open the Data Sources pane to configure the data source for the widget.
You can select a maximum of five data sources.
You can choose between a new data source and an existing data source, i.e. a data source which has already been configured on another widget on the same dashboard. The shared data source's configuration can be edited on any of the widgets that are using it, and such changes will be reflected on all respective widgets. Likewise, when one of these widgets is refreshed, the new data will be displayed on all widgets which use the same data source.
The fact that a data source is shared is indicated by a![]() link icon next to its label. Using a shared data source will improve the dashboard's performance, ensure faster loading times and avoid redundant calls to the backend.
link icon next to its label. Using a shared data source will improve the dashboard's performance, ensure faster loading times and avoid redundant calls to the backend.
To avoid conflicts, every data source must have a unique label within the dashboard.
Click the + Add Source button to add a data source.
Select any of the following options further explained underneath:
New data source:
Existing data source:
The list in this group displays all shared data sources from other widgets on the dashboard
Query Template
Click the edit icon next to the data source label to define a unique label within the dashboard, if needed.

In the Query Template drop-down list, select a query template that you configured under Explore > Data Explorer, refer to Template Designer.
A query template is a template that has been created, parameterized, and provided for others. It is similar to an SQL View and shows data in a table view.
To connect the widget with the Filter widget you created for this dashboard, click the Available references icon
 and select the Filter.
If you have a time parameter, you can choose between absolute time and relative time by clicking the time icon
 .
.Click the Source data preview icon
 to open a preview.
Click the Save Data Source button.
Single Device
Click the
 edit icon next to the data source label to define a unique label within the dashboard, if needed.
In the Default Device ID drop-down list, select a Device ID.
To connect the widget with the Filter widget you created for this dashboard, click the Available references icon
and select the Filter.Click the Source data preview icon
to open a preview.Click the Update Source button.
Multiple Devices
Click the
edit icon next to the data source label to define a unique label within the dashboard, if needed.In the Select Device Types drop-down list, select a device type.
Click the Advanced Settings button to narrow down the output.
In the Start field, enter a value to specify the device to start with.
Example: If you select 3, the first two devices are skipped.
In the Limit field, enter a value to specify the last device.
The maximum is 200 devices.
In the Fields field, enter the fields whose information shall be retrieved from Device Management.
In the Sort field, enter a field configured in Device Management according to which the data shall be sorted.
In the Namespaces field, add namespaces separated by a comma.
In the DefaultFilter field, add a filter to narrow down the search results.
To connect the widget with the Filter widget you created for this dashboard, click the Available references icon
and select the Filter.Click the Source data preview icon
to open a preview.Click the Update Source button.
Device Count
The Device Count data source is based on the counting functionality in Device Management and is used to count things.
Click the
edit icon next to the data source label to define a unique label within the dashboard, if needed.In the Select Device Type drop-down list, select the device types/devices to be used as data source.
All Devices: Counts all devices regardless of the fact that they have a device type or not
All Device Types: Counts the devices that have the thing attribute type which means that the device belongs to a device type
Without Device Type: Counts the devices without the thing attribute type
Device Type xy: Counts the devices of the selected device types
Click the Advanced Settings button to narrow down the output.
In the Namespaces field, add namespaces separated by a comma.
In the DefaultFilter field, add a filter to narrow down the search results.
To connect the widget with the Filter widget you created for this dashboard, click the Available references icon
and select the Filter.Click the Source data preview icon
to open a preview.Click the Update Source button.
Devices from Filter Selection
Devices will be loaded that match the Device filter type configured in the Filter widget.
Click the
edit icon next to the data source label to define a unique label within the dashboard, if needed.In the Pagination Limit field, enter a limit of devices that shall be displayed per page.
In the Sort field, enter a property according to which the devices shall be sorted.
Click the Source data preview icon
to open a preview.Click the Update Source button.
External Data Source
Using the external data source, an external endpoint can be specified to reference data.
Click the
edit icon next to the data source label to define a unique label within the dashboard, if needed.Select an HTTP method.
In the Request URL field, enter the URL of the request.
In the Type drop-down list, select the type of authorization.
Click the Set Configuration button to set up the selected authorization.
For Basic Auth:
In the Username field, enter the username.
In the Password field, enter the password.
For OAuth 2.0
In the Grant Type drop-down list, select the type of credentials.
Enter the Access Token URL.
Enter the Client ID.
Enter the Client Secret.
If you selected Password Credentials as Grant Type, also enter the Username and the Password .
For OAuth 2.0 (On-behalf grant type)
In the Grant Type drop-down list, select Azure AD On-Behalf.
Configure the scopes of your application API as described in External data source: on-behalf-of (OBO) flow.
If you selected the GET HTTP method:
In the Headers pane, enter a key and a value to specify the header information of the external system.
Activate the Secret Header checkbox to flag the header as secret.
When editing the data source, the header information has to be provided.
In the Test Parameters pane, enter a filter parameter to test it.
This pane can be used if a filter widget is configured for the dashboard. The filter values can be referenced as described in this pane within the URL and Headers.
Modifiers can be used to manipulate referenced filter values. The following modifiers are available:
noencode: Only used in URLs. The value is not encoded as it is done by default.
join: Concatenates multiple values in one string separating them with the provided separator.
replace: Replace multiple occurrences of a search pattern with a specified replacement pattern.
queryParams: Creates an entry with the provided parameterName for each value.
relativeTimestamp: Calculates a relative time according to the current time. It offers a way to dynamically change the time range with the use of the Filter widget, e.g. gt{$filterParams.dateTime.from | relativeTimestamp}
addTime:<insert number in milliseconds>: Calculates the relative time according to the given time from insights.timestamp and using the number from addTime, e.g. gt{insights.timestamp | addTime:-300000}. This modifier is designed for static usage so that a Filter widget is not required. A positive number is also allowed if relevant.
prefix: Allows to dynamically add parameters to a value, by means of a prefix, e.g. ${parameter2 | prefix: '&qp1='}. This modifier can also be used as part of an external data source. Undefined parameters will not resolve as "undefined" but will be omitted.
suffix: Allows to dynamically add parameters to a value, by means of a suffix, e.g. ${parameter2 | suffix: '&_qp1'}. This modifier can also be used as part of an external data source. Undefined parameters will not resolve as "undefined" but will be omitted.
Usage examples:
Example filter context:
{
"multi": ["v1", "v2"],
"mixedValues": ["v1", undefined, "v2"]
}
join:
${filterParams.multi | join: ','} will result in v1,v2
replace:
${filterParams.mixedValues | replace: 'undefined','N/A'} will result in ["v1","N/A","v2"]
queryParams:
${filterParams.multi | queryParams: 'multiParam'} will result in multiParam=v1&multiParam=v2
prefix:
${filterParams.multi | prefix: 'pre='} will result in pre=v1,pre=v2
suffix:
${filterParams.multi | suffix: '_suffix'} will result in v1_suffix,v2_suffix
Independently from the test parameters, user-specific information and randomly generated sequences (UUID v4, alphanumeric or hex string) can be referenced.
If you selected the PUT HTTP method:
In the Body pane, select the type of data in the Type drop-down list.
Activate the Secret Header checkbox to flag the header as secret.
When editing the data source, the header information has to be provided.
In the Test Parameters pane, enter a filter parameter to test it.
This pane can be used if a filter widget is configured for the dashboard. The filter values can be referenced as described in this pane within the URL, Headers and the Body.
Modifiers can be used to manipulate referenced filter values. The following modifiers are available:
noencode: Only used in URLs. The value is not encoded as it is done by default.
join: Concatenates multiple values in one string separating them with the provided separator.
replace: Replace multiple occurrences of a search pattern with a specified replacement pattern.
queryParams: Creates an entry with the provided parameterName for each value.
relativeTimestamp: Calculates a relative time according to the current time. It offers a way to dynamically change the time range with the use of the Filter widget, e.g. gt{$filterParams.dateTime.from | relativeTimestamp}
addTime:<insert number in milliseconds>: Calculates the relative time according to the given time from insights.timestamp and using the number from addTime, e.g. gt{insights.timestamp | addTime:-300000}. This modifier is designed for static usage so that a Filter widget is not required. A positive number is also allowed if relevant.
prefix: Allows to dynamically add parameters to a value, by means of a prefix, e.g. ${parameter2 | prefix: '&qp1='}. This modifier can also be used as part of an external data source. Undefined parameters will not resolve as "undefined" but will be omitted.
suffix: Allows to dynamically add parameters to a value, by means of a suffix, e.g. ${parameter2 | suffix: '&_qp1'}. This modifier can also be used as part of an external data source. Undefined parameters will not resolve as "undefined" but will be omitted.
Usage examples:
Example filter context:
{
"multi": ["v1", "v2"],
"mixedValues": ["v1", undefined, "v2"]
}
join:
${filterParams.multi | join: ','} will result in v1,v2
replace:
${filterParams.mixedValues | replace: 'undefined','N/A'} will result in ["v1","N/A","v2"]
queryParams:
${filterParams.multi | queryParams: 'multiParam'} will result in multiParam=v1&multiParam=v2
prefix:
${filterParams.multi | prefix: 'pre='} will result in pre=v1,pre=v2
suffix:
${filterParams.multi | suffix: '_suffix'} will result in v1_suffix,v2_suffix
Independently from the test parameters, user-specific information and randomly generated sequences (UUID v4, alphanumeric or hex string) can be referenced.
If you selected the POST HTTP method:
In the Body pane, select the type of data in the Type drop-down list.
Activate the Secret Header checkbox to flag the header as secret.
When editing the data source, the header information has to be provided.
In the Test Parameters pane, enter a filter parameter to test it.
This pane can be used if a filter widget is configured for the dashboard. The filter values can be referenced as described in this pane within the URL, Headers and the Body.
Modifiers can be used to manipulate referenced filter values. The following modifiers are available:
noencode: Only used in URLs. The value is not encoded as it is done by default.
join: Concatenates multiple values in one string separating them with the provided separator.
replace: Replace multiple occurrences of a search pattern with a specified replacement pattern.
queryParams: Creates an entry with the provided parameterName for each value.
relativeTimestamp: Calculates a relative time according to the current time. It offers a way to dynamically change the time range with the use of the Filter widget, e.g. gt{$filterParams.dateTime.from | relativeTimestamp}
addTime:<insert number in milliseconds>: Calculates the relative time according to the given time from insights.timestamp and using the number from addTime, e.g. gt{insights.timestamp | addTime:-300000}. This modifier is designed for static usage so that a Filter widget is not required. A positive number is also allowed if relevant.
prefix: Allows to dynamically add parameters to a value, by means of a prefix, e.g. ${parameter2 | prefix: '&qp1='}. This modifier can also be used as part of an external data source. Undefined parameters will not resolve as "undefined" but will be omitted.
suffix: Allows to dynamically add parameters to a value, by means of a suffix, e.g. ${parameter2 | suffix: '&_qp1'}. This modifier can also be used as part of an external data source. Undefined parameters will not resolve as "undefined" but will be omitted.
Usage examples:
Example filter context:
{
"multi": ["v1", "v2"],
"mixedValues": ["v1", undefined, "v2"]
}
join:
${filterParams.multi | join: ','} will result in v1,v2
replace:
${filterParams.mixedValues | replace: 'undefined','N/A'} will result in ["v1","N/A","v2"]
queryParams:
${filterParams.multi | queryParams: 'multiParam'} will result in multiParam=v1&multiParam=v2
prefix:
${filterParams.multi | prefix: 'pre='} will result in pre=v1,pre=v2
suffix:
${filterParams.multi | suffix: '_suffix'} will result in v1_suffix,v2_suffix
Independently from the test parameters, user-specific information and randomly generated sequences (UUID v4, alphanumeric or hex string) can be referenced.
In the Duration in seconds field under Caching, specify the caching duration in seconds.
Click the Source data preview icon
to open a preview.Click the Save Data Source button.
Data Transformation
With the data transformation activated, you can select entries from arrays in arrays or a specific range of arrays.
Also refer to the JMESPath documentation.
Open the Data Transformation pane to activate the data transformation to JMES.
Activate the toggle switch.
In the Filter field, add a string to filter the data, e.g. [0] to display only the first item or [?contains(thingId,'yourThingName')] to filter by contains in the thingId property.
Click the Transformed data preview icon
 to open a preview.
→ The data transformation is activated for the widget.
If you selected more than one data source, the Data Aggregator pane is displayed.
Activate the toggle switch.
In the Data Aggregator drop-down list, select an aggregation method with which each entry of the same index is merged into one result.
Activate the Merge Properties checkbox to merge the properties of the index.
In the Filter field, add a string to filter the data, e.g. [0] to display only the first item or [?contains(thingId,'yourThingName')] to filter by contains in the thingId property.
Click the Transformed data preview icon
to open a preview.
→ The data transformation is activated for the widget.
Playback Settings
Open the Playback Settings pane to further set the Playback widget.
In the Path to Frame Data drop-down list, select the base path for the time series data that shall be displayed in the widget.
Only the specified time series data will be filtered and not the whole document.
The iterator [i] is used for the path to traverse the elements of a data set.
In the Path to Time Identifier drop-down list, select the path of the time element from your data.
In the Default Speed drop-down list, select a speed for the widget.