Data ingestion with a simulator
With our simulator, we are simulating the automated data ingestion process via API.
You can use the simulator in order to easily replicate the steps of this tutorial, or you also can ingest your own data.
Create an API user
On the left navigation, go to Admin > Users and click the Create API user button in the upper right area.

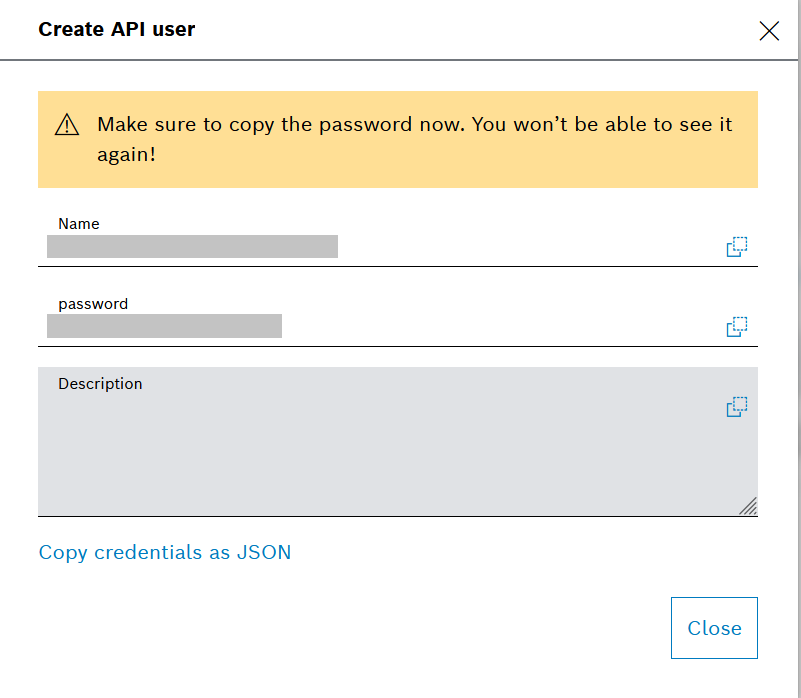
On the dialog, enter a Name and optionally a description and click Create.
On the next dialog, enter a Password. Make sure to copy the password now, as you will not be able to see it again. For convenience, you can use the option Copy credentials as JSON.
When ready, click Close.
On the list of roles, click the
 edit icon for this role and assign the Admin role to it.
Start the simulator
Download the simulator generate-device-data.js and its license file from here and save them in a dedicated folder.
In that folder, open a terminal and set the following environment variables related to your API user:
INSIGHTS_PROJECT
INSIGHTS_PROJECT_USER
INSIGHTS_PROJECT_USER_PASSWORD
If you are using Windows PowerShell, use the following format of the commands: $env:INSIGHTS_PROJECT = "<your value here>"
If you are using the Command Prompt, use the following format of the commands: set INSIGHTS_PROJECT=<your value here>
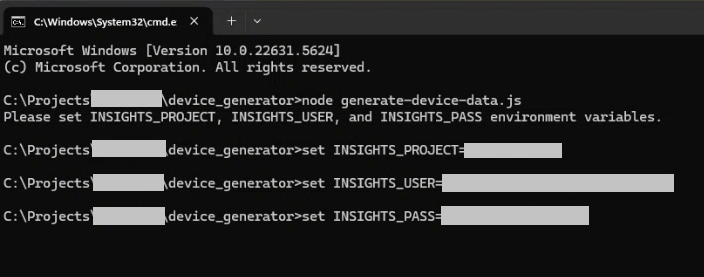
After setting the environment variables properly, start the simulator by running the command node generate-device-data.js.
The simulator requires node.js in all cases and the undici module in case you are behind a proxy. If you receive an error message stating that these are missing, just install them.
For example, for the undici module you can run npm install undici.
The device type in the simulator is set to 'vehicle', and the device IDs are set to 'vehicle_audi_1', 'vehicle_audi_2', 'vehicle_audi_3', 'vehicle_audi_4', 'vehicle_mazda_1', 'vehicle_mazda_2', 'vehicle_opel_1', 'vehicle_skoda_1', 'vehicle_vw_1' .
If you want to use different names for the device type and devices, you can adjust them in the simulator file (see lines 6 and 7). In that case, replace the values on lines 6 and 7 with your device type and the IDs of your devices. Then restart the terminal to see the changes.
You can find the correct ID format on the list of devices under the device name.
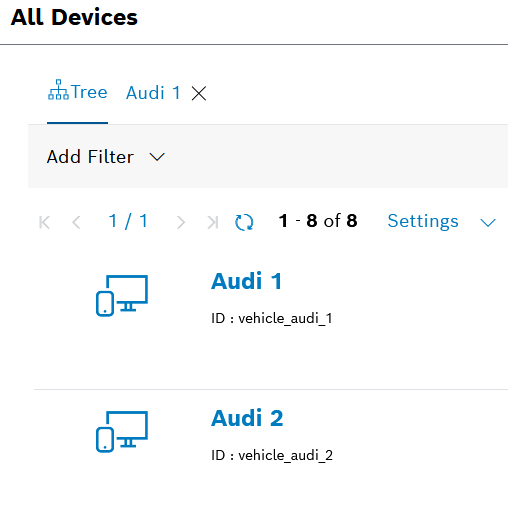
The simulator is set to generate data for 2 devices.
If needed, you can adjust the number of devices for which the data will be generated in the simulator file (see line 88) and restart the terminal to see the changes.
Upon that, the simulator will start to generate data.
You can stop the simulator by typing Ctrl+C.
Check the received data
Go to Processing > Input History on the left navigation and you will see the ingested data with Sender Name your API user.
Troubleshooting tip: if you cannot see any data, check if there is a filter applied to the list.
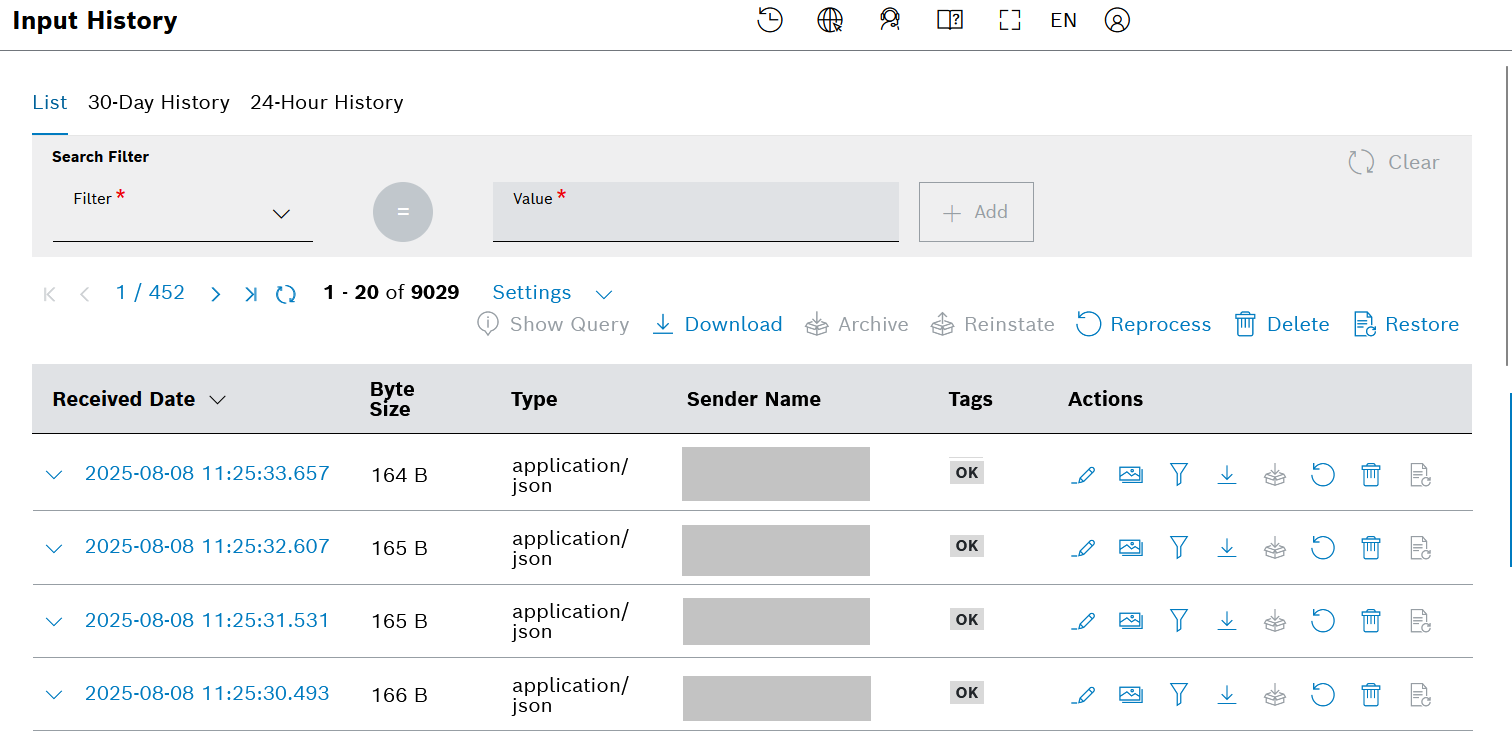
Expand an entry to see the Metadata, or click the
 Preview icon on the right to see the full data.
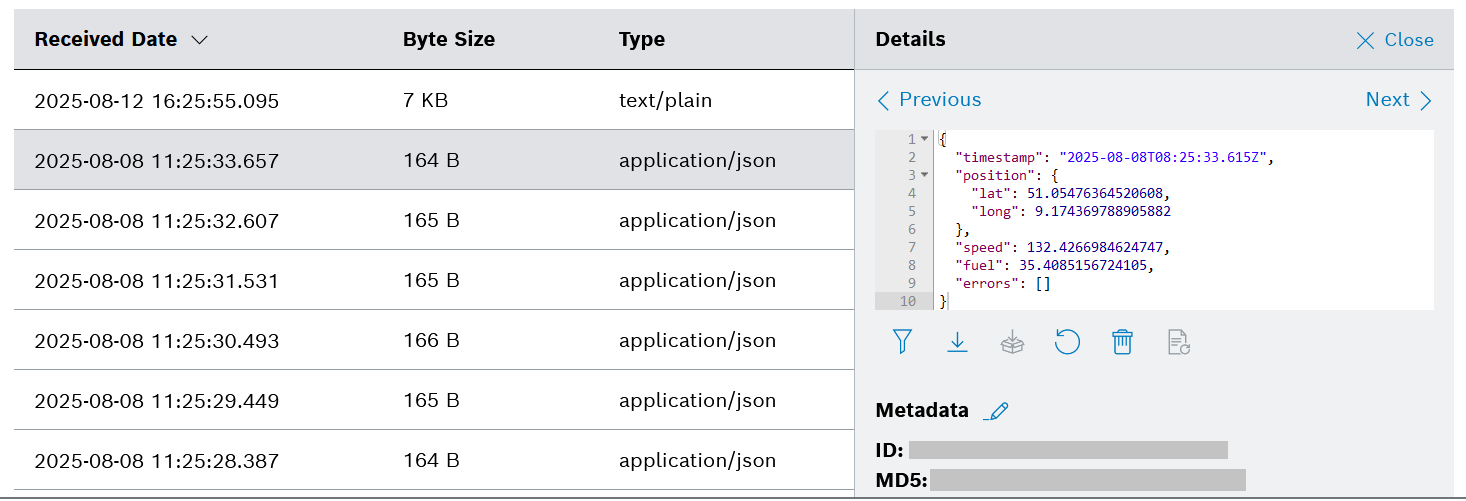
If you are not using the simulator but you have access to live data, refer to the Data Recorder Service topic in the Developer Guide.
If you are interested in the manual data ingestion process, refer to the Data Upload section in our User Guide.